
April
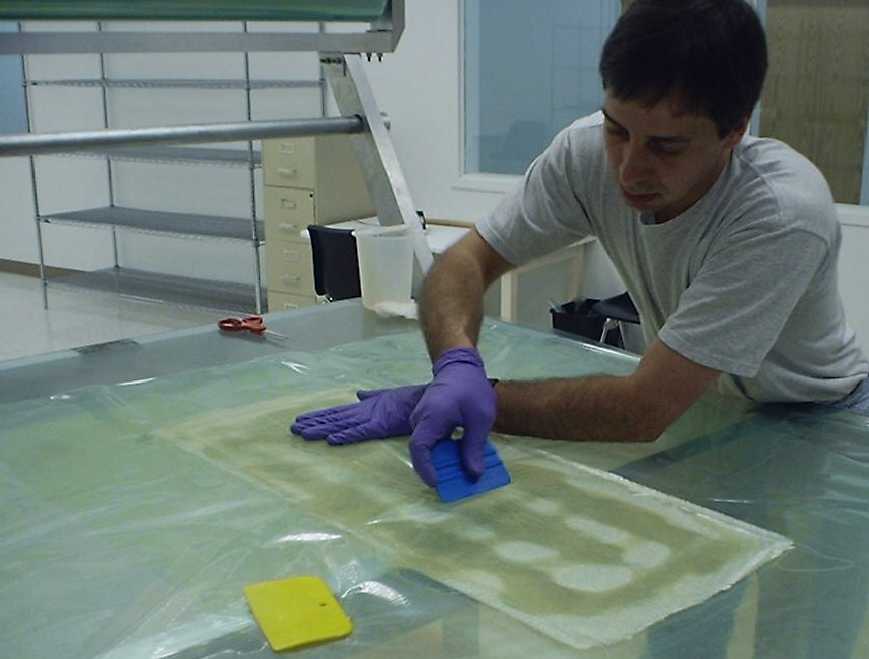
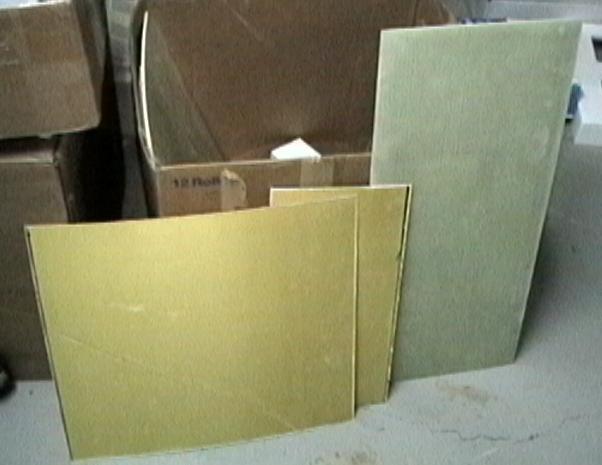
Armor Construction
With a lot of help from the technicians at Ted's work, the fiberglass/Kevlar armor was laid up. The top and bottom sheets were constructed using 5 layers of fiberglass with 3 layers of Kevlar on the top. For the sides, only fiberglass was used, due to the fact that they should not see as much abuse as the top and bottom. These sheets were then cut to size using a diamond saw. Kevlar is difficult to cut, and will hopefully supply good protection from the killsaws, and whatever our opponents may throw at us.
Motor Mounts Revisited
In trying to determine how to attach the
motor mounts and a chain tensioner, we decided
to redesign the motor mounts to incorporate
the tensioner. Again, these were machined
from 6061-T6 aluminum.

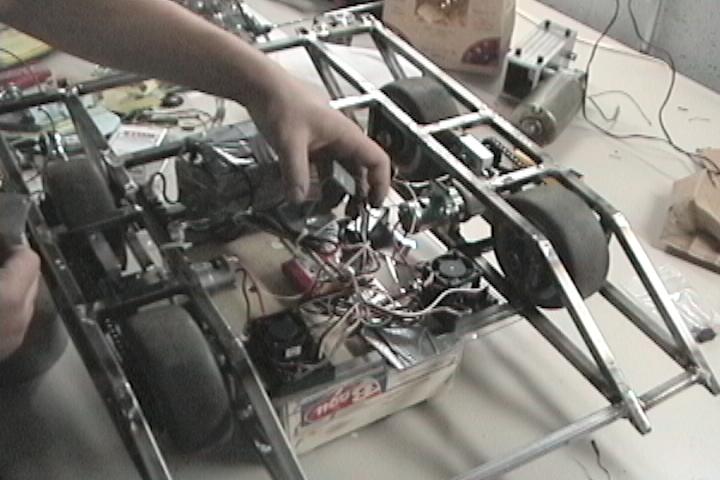
Bolting on the motors
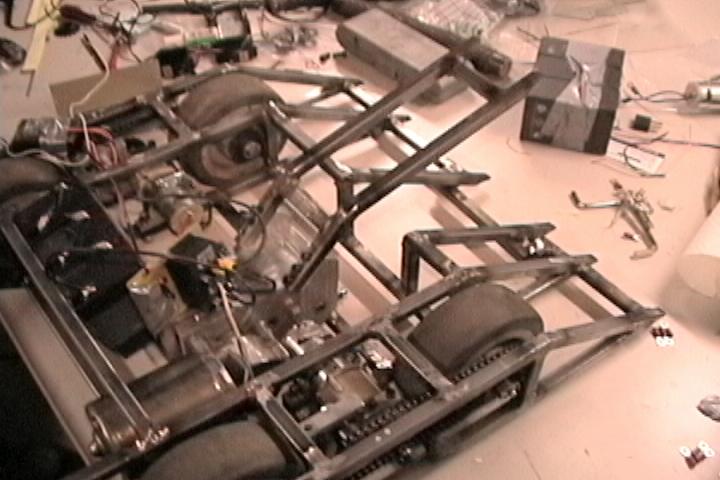
Next, we finished up the motor mounts. The machined motor mounts were aluminum, so we welded some additional steel supports for the aluminum mounts, and
bolted the motors to these bars. Once the motors were bolted down, we could install our chains.

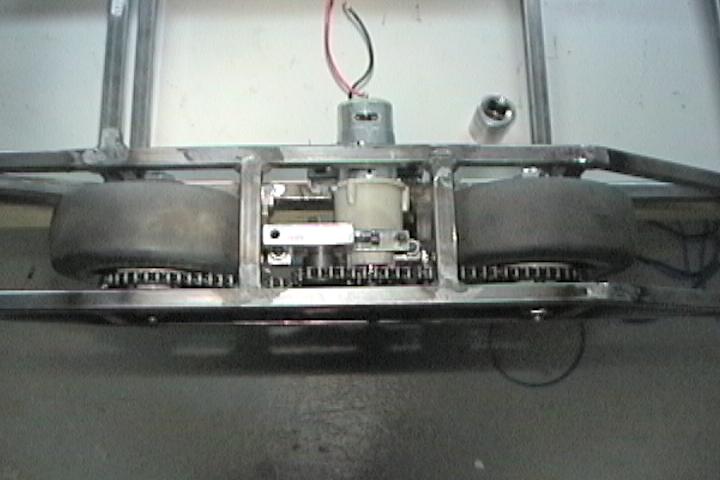
The new chain tensioner definitely helped get excellent sprocket coverage. Through some miracle, the chain cleared all the cross bars, everything lined up well, and the chain was cut to the proper length on the first try! We applied a bit of power to the motors, and the wheels spun up nicely.
Test Run
At this point, we really were curious to see DarkMatter move under his own power, so we decided to quickly wire up the radio, ESCs, and batteries.
The final result involved so much duct tape, that we temporarily re-named DarkMatter to DuctMatter.
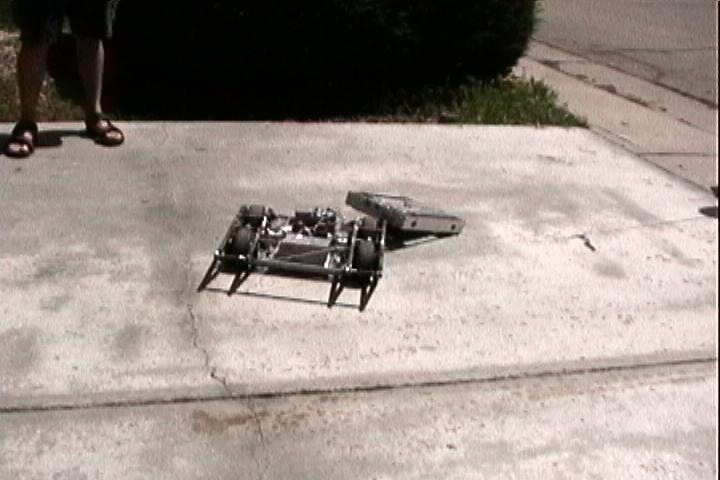
After a few quick wire changes, and a trial bench wheel-spin, we sent DuctMatter off on his trial run. The bot handled extremely well, had good speed, and turned well. A quick push test against the wall proved we had enough torque to spin the tires. We estimate we still have 15 or so pounds to go before we're at the weight limit, so we'll try the push test again when we have all components on board.
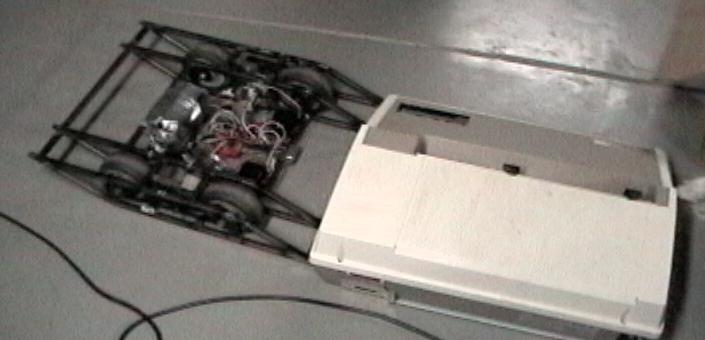
The next logical test was to start pushing things. We first tried a relatively light crate (10-15 lbs or so), it was no problem. We then tried a ~50 pound printer. We had to throw on some extra weight in order to get enough traction, but afterwards DarkMatter pushed the printer across the floor at an impressive speed. We would have tried ramming a few likely targets, but we didn't want to jeapordize our tenuous Duct Tape infrastructure(TM).

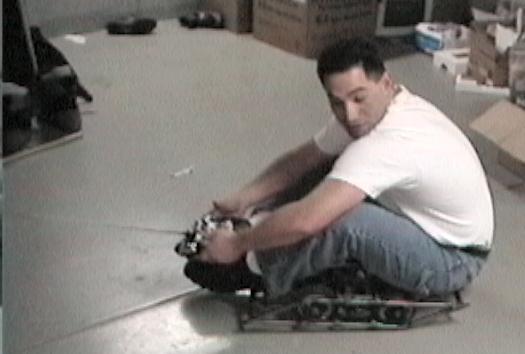
The grand finale was giving Ted a short ride. Turning was a bit rough, but the straight-aways were fun, and Ted managed to pop a few wheelies in the process.
We put together a short collection of video from the test drive.
First Test Drive Video. ** Warning! Large 10 megabyte file! ** Requires Windows Media Player. 1:53 running time.
Grudge Match
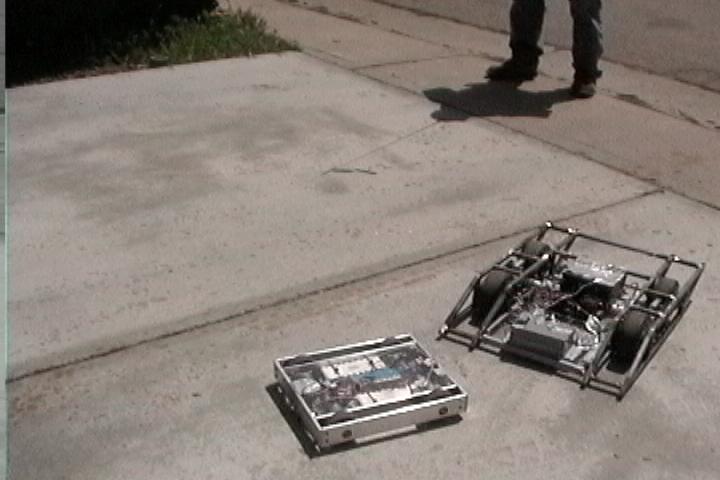
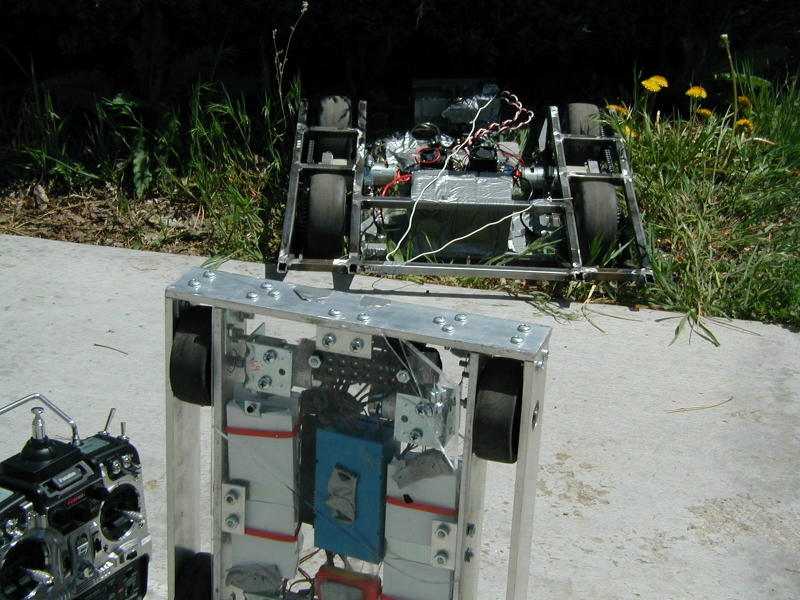
Since we had two functioning bots at this point, we thought it would be fun to pit them against each other. It was going to be an uneven match. AlphaPujo
is tiny and slow compared to DarkMatter, but we thought it still would be a lot of fun. Neither bot had a weapon, so no real damage would occur to either.
After getting the bots outside it became quickly obvious that AlphaPujo had no chance to do anything interesting. After handing the controls to AlphaPujo to
the neighbor, we grabbed a bit of video of the action. You can view it here.
While DarkMatter didn't get damaged at all, AlphaPujo wasn't quite so lucky. We did see a few of the set screws work loose on DarkMatter, but we weren't too surprised, since we hadn't loc-tited them down. On AlphaPujo, one of the four drive pins was sheared off, so we only had 3 wheels powering AP. The pins were really just small nails, not nearly strong enough metal for the job. The base plate of AP, made of plexiglass, fractured in many places. The screws holding the batteries to the base plate came loose, so the batteries were floating around during most of the match.
Weapon Mounting
We spent a good 11 hours getting the weapon in. After a few test fits, we decided to more or less center the lifting arm. This seemed to give us the
best internal lay out, weight balance, and leverage. We welded a few additional supports across the bottom of the frame that allowed us to bolt the gear box
to the frame. We then made a few cuts to the top and front geometry of the frame to allow room for the lifter arm. After mounting the lifter arm, we wired up
the TeamDelta H-Bridge, and tested it out. The speed and strength of the lifter were in line with what we were expecting.
There is some footage of the weapon testing here.
Build Progress: February March April May